My home and garden:

Welcome to my blog. I hope you get plenty of enjoyment and inspiration out of it. My style is a well-sifted mix of vintage, classic, country, and a little shabby chic, combined with an obsession with storage and organisation. I have based my styling decisions on the era and feel of my little cottage house - it is about to celebrate it's 100th year anniversary, barely 140m2 on a steep little quarter-acre block looking out to the Paremata inlet, marina, and up to the hills of Whitirea Park.

Thursday, 4 February 2016

Get rid of that lawn!

After living in this house for about...ohhh...5 minutes, I was sick of the lawns. We have been very, very blessed with a house that, despite being built on a steep cliff-face, has already been retained and terraced. This is definitely the worst and most difficult as well as most expensive part of garden landscaping!

The result: gardens - or more specifically - lawns on four levels. And we are not just talking a step or two between levels. Just from the garage where the lawn mower is stored, down to the first level we have about 20 steps. It doesn't get much better from there on down to the house!

So I have been systematically digging up the lawns. Here is a picture of the front of our house and the 'best' lawn:


My landscape plan basically consisted of taking a line from the corner of the house straight across the lawn to the fence. This would be retained with two railway sleepers with steps in the centre of them. A small pergola would also be built over the steps. The area below the retainer would be cut-and-fill levelled with 500mm pavers at the centre and a narrow border garden around the edge. The old rotting picket fence was also to be replaced with a 1500mm paling fence. 

STEP ONE: CLEAR THE AREA
This didn't take long. There was one scraggly Coprosma in the corner and some kind of bushy shrub under the bay window. The lawn got the RoundUp treatment and a few weeks later was all gone. 

As my hard-working husband was far too busy at work (in our garden centre!) to do the landscaping himself, he found a wonderful life-saver in our dear friend, Murray. Murray worked tirelessly digging and moving the dirt to level the patio area. He also built the new fences around the garden, paved the entire area, built the retaining wall and steps and finally constructed a beautiful and elegant pergola to our combined design while we were taking a Christmas break. I can see the pergola while driving along the motorway below our house and I think of him every time: Murray was struck down by cancer and died a few months later not six months after finishing our project.

The part that of clearing that my boys most enjoyed with removing the old fence. They took to it with sledgehammer (I will never take a 9-year old boy to the hardware store to buy a sledgehammer again - we barely made it out alive!) and baseball bat! 


And finally we had a nice (mostly-) clear area to construct our patio on:


We hosted Christmas that year for my husband's family. Christmas dinner was to be a bbq on the patio, so it was imperative we had finished it for the day (my husband's family owns a nursery). I was still planting on Christmas Eve, but it was ready on the day!


I have a tendency to like many different types of garden styles and don't want to miss out on any of them. I decided that this one would have an Italian style to it. I will list the plants used below

One year on, it is flourishing beautifully. The classical (but fake) stone water feature has gone to a better home after my dog leaned to heavily on it to drink one day, but the roses have been wonderful, giving me huge bouquets of up to 20 blooms for every room of the house. There will be some tweaking this autumn as the shrubs get a bit bigger, but it's been so lovely and peaceful. We thought that there would be a lot of wind on the northern face of the hill that it is located, however the trees on the slope below, as well as the paling fence, have created a hot little basin where it's just roasting on a nice day. The next job is to find a suitably massive table setting and bench seats to host alfresco dinners. 


Planting List

Trees:
Olives

Roses: 
Dublin Bay (climbing red floribunda)
Diamond Design (stunning pink-and-white hybrid tea bush)
Love Me Do (gorgeous fragrant cream hybrid tea bush)
Nahema (incredibly fragrant pink climbing floribunda)

Shrubs:
Buxus standard balls
Pittosporum Golf Ball Silver
Acacia Limelight

Perennials:
Lavender With Love (pink)
Miniature agapanthus Sea Foam (white)
Dianthus Memories (white)
Penstemon Swan Lake (white)
Parahebe (white)

Other annuals & bulbs:
Tulip Hermione (pink)
Tulip White Romance (white)
Freesia (white)
Geraniums (pink)
Lobelia (white)
Alyssum (white)


Sunday, 20 September 2015

Annie Sloane Ladder in "Florence"


Here's my inspiration: an old painter's ladder picked up off Trademe for $16. As we have 2.8m ceilings, we often need a ladder to reach shelves.

Treatment:
  • Wash with Sugar Soap
  • Putty up a few old borer holes
  • Sand these off
  • One coat of Annie Sloane Chalk Paint in "Florence"
  • Sand back with 100grit sandpaper, paying especial attention to the centre fronts of treads and outer edges where they would naturally wear the most. This will expose the original paint drips.
  • Wax roughly with Annie Sloane Clear Wax, one area at a time
  • Follow this immediately in each area with Annie Sloane Dark Wax
  • Buff until glowing


Here's the result.


Saturday, 19 September 2015

Multifunction Room

143m2 isn't that small, is it? What about for a family of five? I didn't think so...before we tried living in it. One of those five is taller than me, another is the same height, and a third is not far behind. Only one is still a respectably small size. 

It's not just their size that causes complication in a smallish house. It's the stuff that goes with them. Yes, I admit we no longer have ride-on motorbikes, lego strewn across the floor, pens pencils and crayons covering tables, and blocks lying in wait for bare feet to tread on. Life has moved on somewhat. Now we are contending with infinity number of balls - rugby balls, soccer balls, netballs, basket balls, hockey balls, tennis balls, and whatever other kind of ball it is possible for a kid to own and use constantly under my feet. But what is worse is that even more often these balls are being bounced, hit, smacked, pushed, kicked and whacked inside my house. It's just a matter of time...

Initially, when we bought this house two years ago, I thought 143m2 meant less cleaning, less clutter, going along with the current trends of decluttering, reducing, only keeping what you love and can't live without. 

I was wrong. 

A smaller house means more cleaning as the dirt is still there, it's just condensed into a smaller space! It means incredible organisation...either that or just giving up (on seeing any horizontal spaces) for the next ten-odd years. I chose the organisation for the moment. Sometimes I change my mind. 

Recently, we've moved on a bit from multiple balls rolling around the floors. We're up to multiple devices cluttering up tables and benches. All my kids need devices for school, plus there are the ones they already had (iPods etc) and then there are also phones as they reach an age where they need one. Along with these come the recharge cables, headphones (so I can't hear their games!), cases etc etc. I have put so much time and consideration into purchasing the storage we need to keep things orderly and in their place, mostly to avoid constantly being asked where something is. However somewhere along the line, a crucial point was missed...
In our house, the dining room is the centre of the house. We usually come in the back door into the laundry, which opens onto the kitchen. Then, to get to all the bedrooms, family room, lounge, bathroom, toilet and front door, you have to go through the dining room. In our last house our dining room was huge, with a vaulted ceiling and two big french doors. We had a beautiful big 8-10 seater dining table with tall black leather chairs which my husband refused to sell on when we moved into this new house. It just never quite sit right in our new house, with it's cute cottage style.

The other big feature in the dining room was a coal range. A previous owner had installed it when this part of the house was added on in the '80s. It was cute, the brick work was very nice, but as a coal range it was just a bit difficult. It wasn't by the kitchen, it was really low so we had to crouch to use it, and coal isn't a local resource here in Wellington. We decided it had to go as space was at such a premium. It sold very quickly on Trademe which was great, but my husband wasn't terribly happy about taking it down the 4 flights of stairs to the road! 

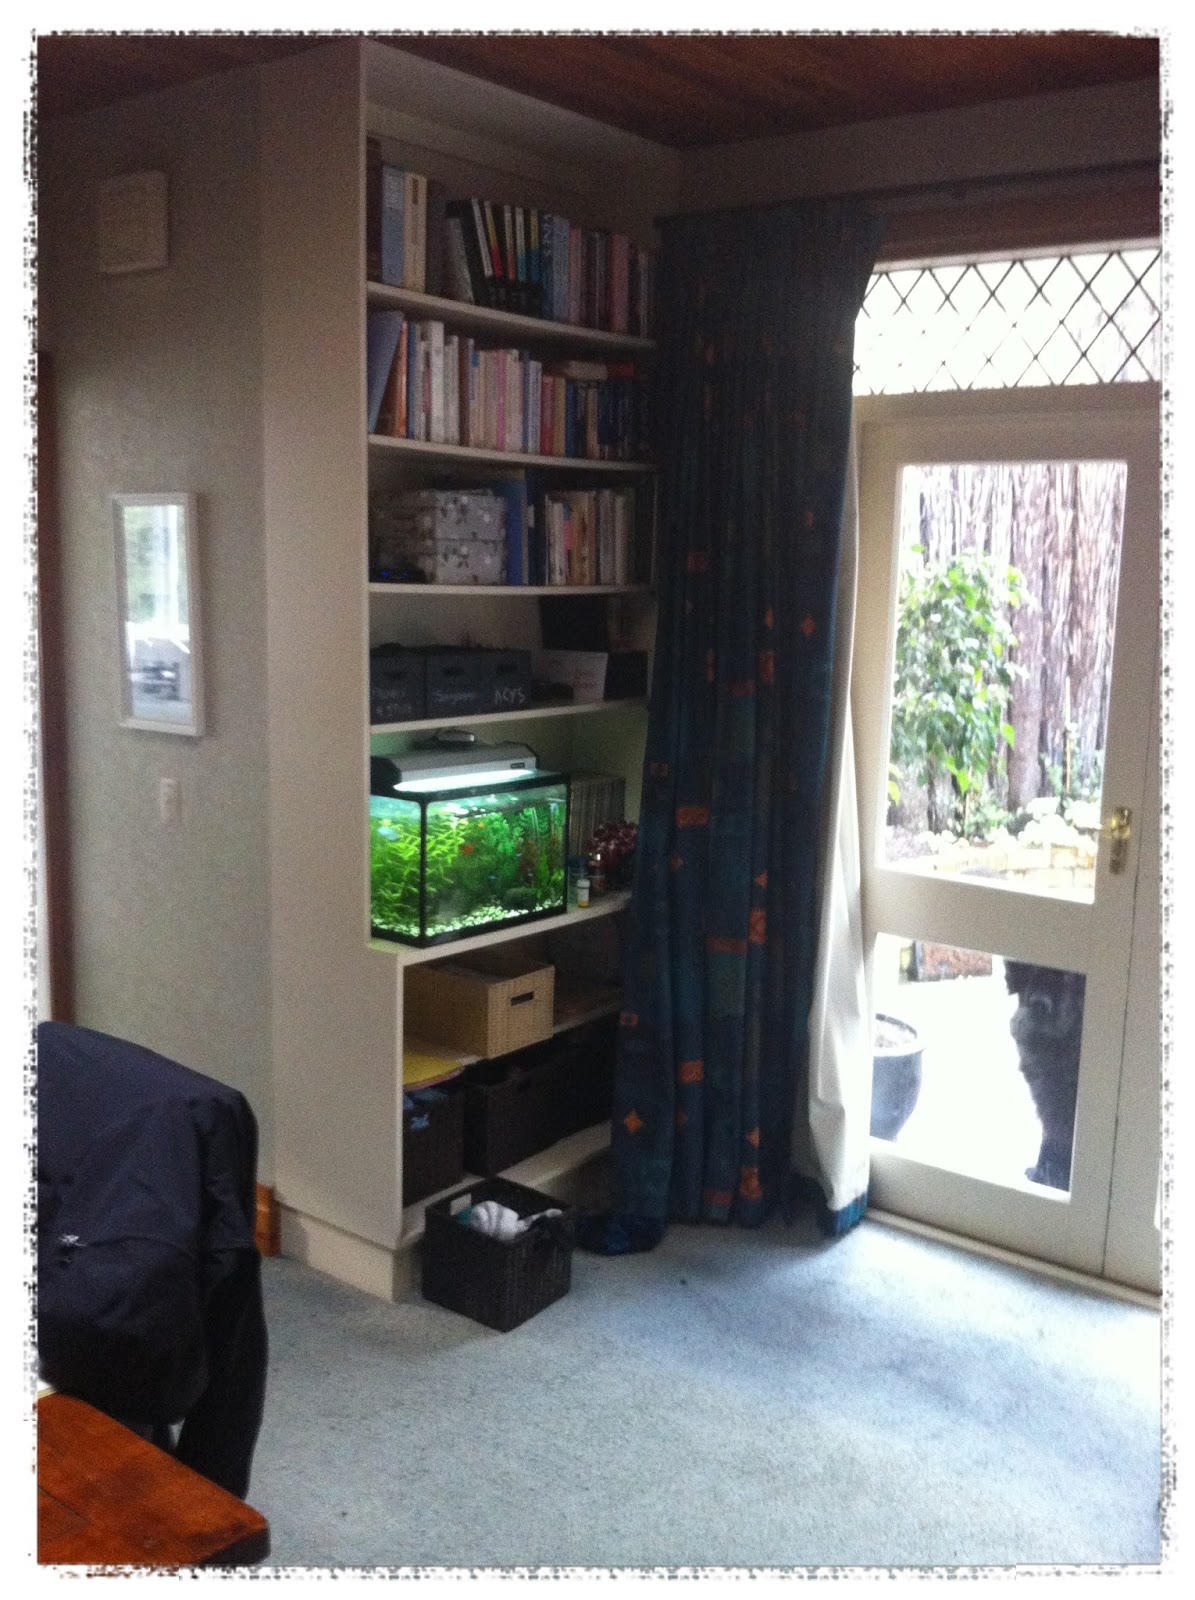
The dining room also had some other nice features, such as a dresser with (fake) lead-light windows on the wall between kitchen and dining, lots of book shelves and cupboard space. But there were some elements that bothered me, such as the a single curtain on one side of the french doors, and the fact that people constantly used the french doors as the front door, leaving bags and shoes piled up on the floor.
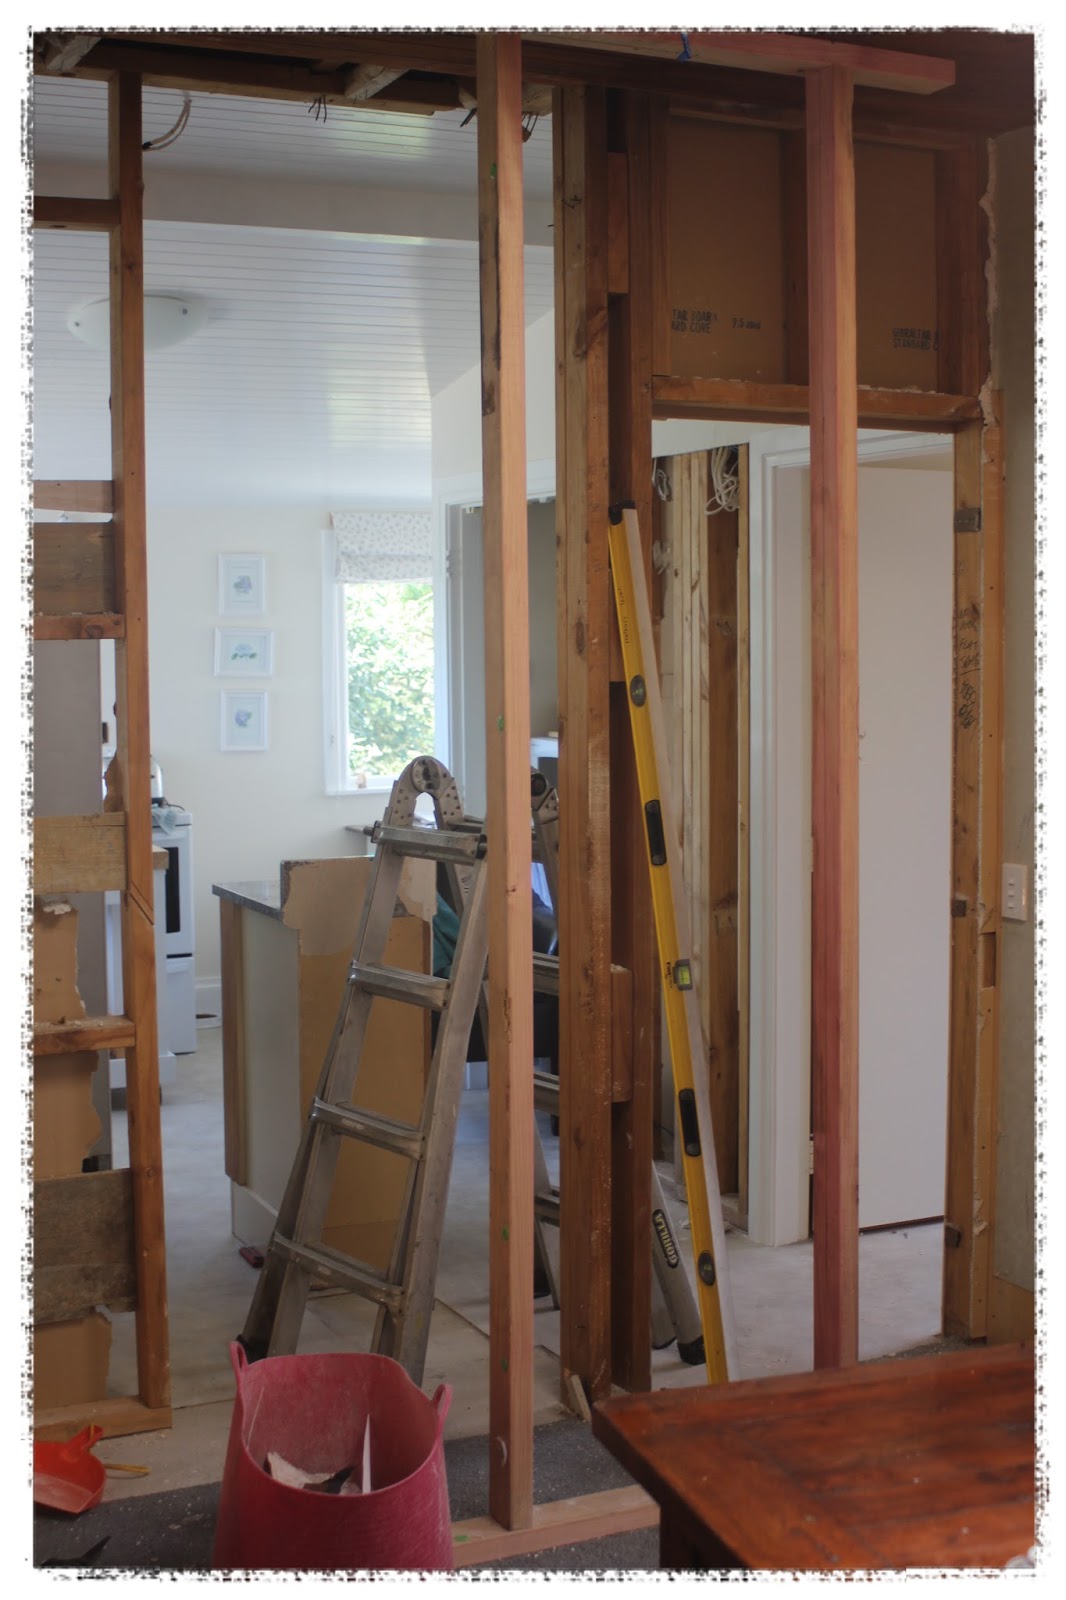
Last summer we decided to take out the wall between the kitchen and dining room, which has let a whole lot more light into the dining room as well as warmth into the kitchen. 
 This was the opportunity I needed to get a much-needed office space built into the space that the coal range had previously occupied. I was sure that with some organisation and a spread sheet or two, we could create a functional office 'nook' that would hold all the clutter that was bugging me.
 We lined the back of the office nook with t&g to match the ceilings which were t&g douglas fir painted white. Our builder put in four shelves in good, solid pine, and I built a desk which could fit the lovely carver I had bought and painted under it. Lastly I got hold of a great little metal draw unit to fit under. Now I have no end of space to store every known file box or book, baskets, boxes, pens, pencils, mail, printer, computer, phone, magazines, and even a bunch of photos, quotes, and pictures. 
The room isn't quite finished yet, as we are still waiting for the breakfast bar to finish the transition from dining to kitchen, but I will upload some photos of the drinks trolley, the new curtains, and the piano wall once I get some. We finally have a home for the fabulous world map my sister sent us as a house warming present.

Saturday, 20 June 2015

The return of the lounge

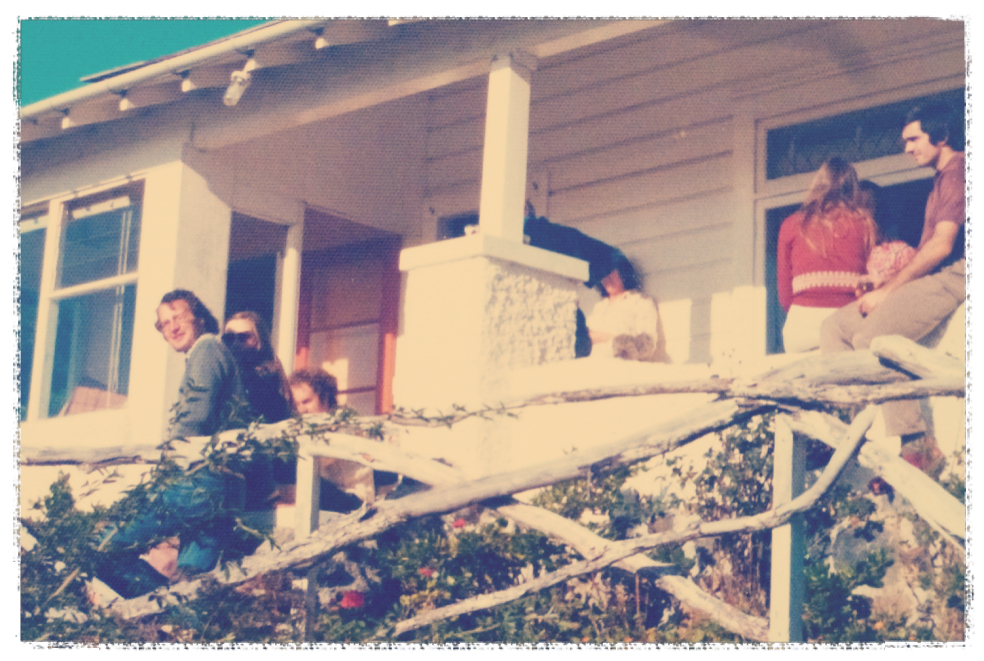
In 1976, two young couples sat down together in their cold, dark lounge. One pair had just returned from their OE and their close friends had cleared a space for them in their little sea-side cottage to bunk down in until they got their feet.

As they sat together and discussed their plans for each of their futures, the ideas bounced around off the dark, scrim-covered walls and crumbling plaster ceiling. Before you could say "arts and crafts", the two men had grabbed their builder's apprentice tool-belts and were taking out the walls, determined to modernise and update the tired little house. 

By the time they had finished, there was no longer a cold, dark little lounge in the corner of the house, off the cold, dark little hallway and cold, dark dining room. Now they had a cold, dark but huge lounge that merged into the dining room and had a front door in the corner of it. Brilliant thinking, just like so many of those great '70s ideas! 

As it resulted in the rather awkward situation of the open fire sitting in the centre of the room, they rustled up a bag or ten of mortar and a couple of hundred recycled-recycled bricks and built a brick wall-of-China to 'blend' with the old open fire. It still looked a little lonely, so they extended the raised hearth and topped it with gorgeously trendy brown terracotta tiles, creating a groovy space to sit and cook fondu on. Now they could all chill together and listen to their latest cassette tapes of "Pink Floyd" and watch "Happy Days" on their new colour television set.

This is what the lounge looked like when we bought it, 40 years later:


Unfortunately for my husband and children, I have inherited some determination. You have no idea how hard it is to decorate an L-shaped living area, when it has coming off it: 4 bedrooms, the dining room, the front door, and a massive 3-sided fire in the centre of the L. It looked a bit like this (no, actually exactly like this):


The first thing to come out was all those bricks! I think it took us about 2 weeks, on-and-off, and the kids helped, husband helped, I did some, and finally we got some labourers in to finish it off as well as barrow down the rubble to the 2 skips we filled!


As you can see, in such a tiny house (143m2), the fireplace took up a huge area!

After this, I marked out the location for the 2 new walls that we were putting in, which interestingly proved to be exactly where the original walls had been, when we pulled up the carpet. Like I said, it's a small house, so we also went to the effort to have the wall between the new lounge and my youngest son's room sound-proofed as he hates being kept awake by the TV or conversation from the dozen or more teenage we have here each week!

I hadn't realised it at the time, but these two walls would necessitate the redecoration of every wall, floor, window, door and ceiling in three rooms - the new lounge, entrance hallway, and family rooms these created. This also involved stripping off very old wallpaper throughout, as well as skim-coating over virtually every original wall and plastering up the new ones. All the rimu skirting boards and architraves needed painting white, the doors and windows all needed to be painted to match the architraves and skirting boards, the rooms needed scotias installed and painted, the stained douglas fir t&g ceilings needed painting, the walls all needed painting or wallpapering... And when you go to this much effort, it makes sense to also replace the window dressings with new, insulating curtains, recover or replace the furniture which no longer matches, and replace the trashed carpet with new, soft carpet and the thickest underlay possible! 

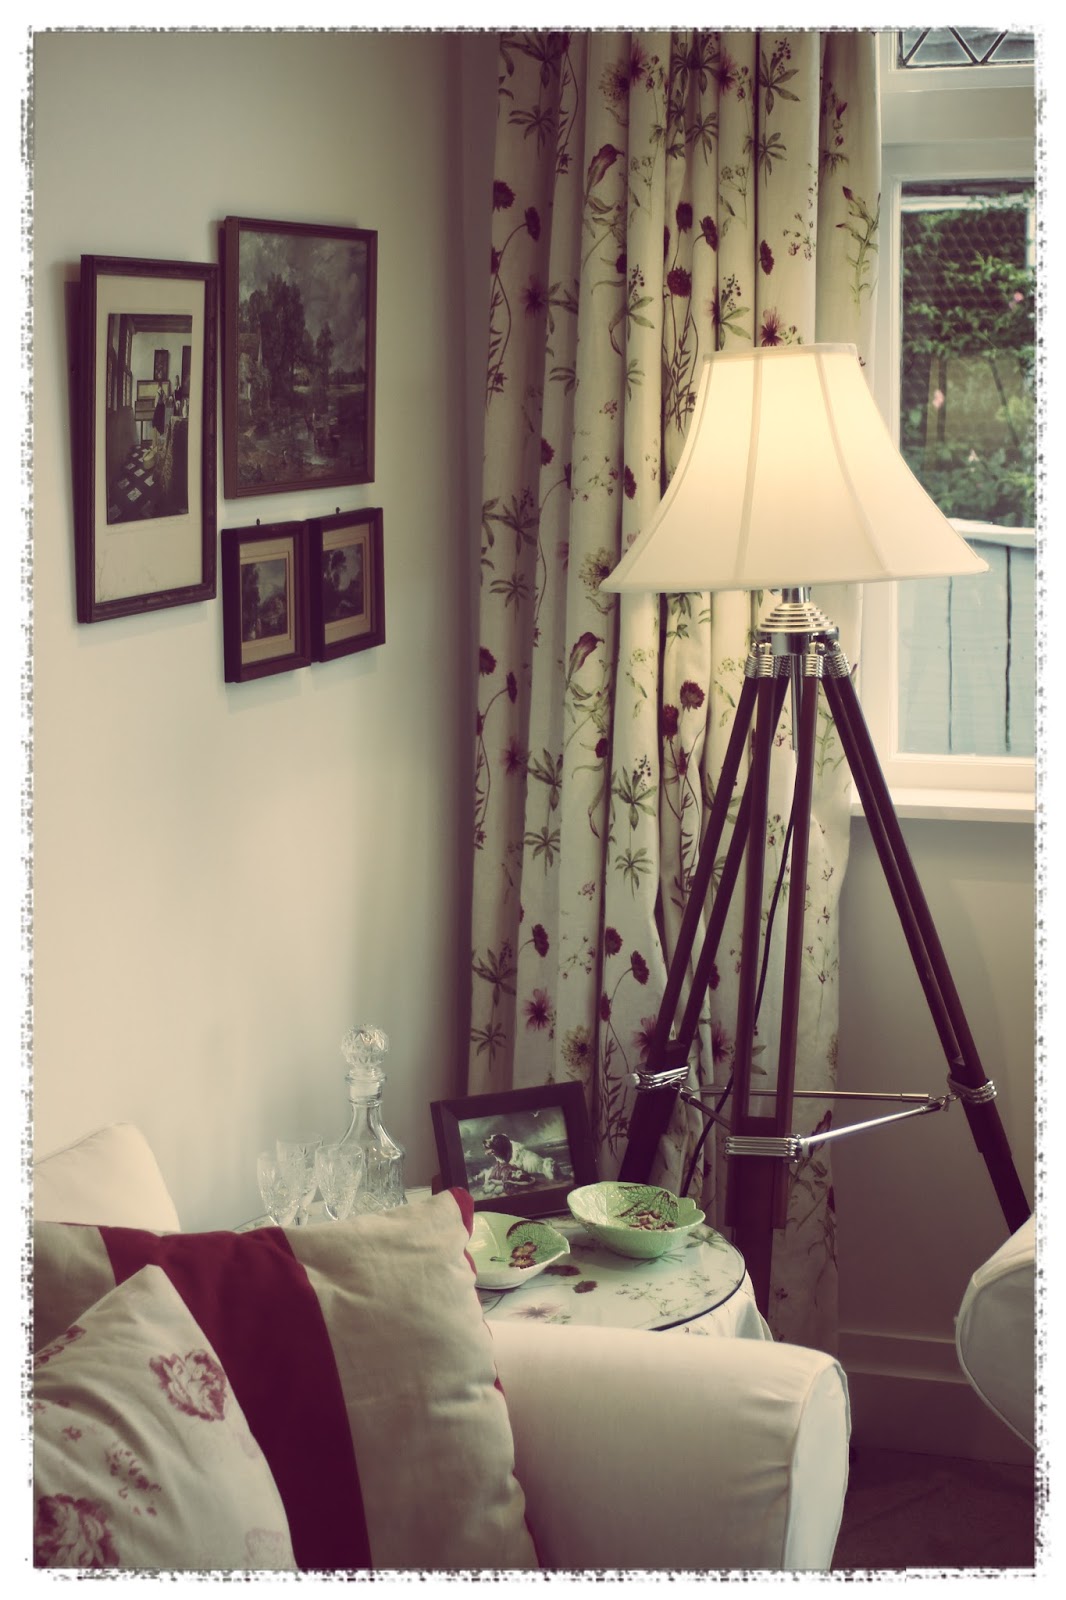
This is the result so far:


The couches and chair recovering has been mentioned in a previous post. This has been amazing and so worthwhile. I can't wait to cover more! I made all the cushions (I'm a little obsessed) and also made the curtains. These I also lined with thermal lining and interlined with polyester 'bump' for the best insulation possible! 

I picked up all the old pictures from charity shops for $5 - $10 each, and mostly kept their original old and battered frames. The round side table is an outdoor table I don't have a use for that helpfully had a glass top! I had been looking for one online or at shops for weeks and suddenly realised this annoying table outside I had no use for would be great covered with excess fabric from the windows and my little collection of Carlton plates would look great on it! 

The hydrangeas are fake and I love that they're fake! And the phone actually works and rings just like an old one! 

A bunch of wool and fluffy blankets on the couches both keeps the arms clean as well as keeping kiddies cosy, and the colours all blend so well.

The final part of the story will be an entire wall of bookshelves from floor to ceiling and wall to wall over the entrance door to the lounge. I have started sketching ideas for this and can't wait to get it made and finished as we have moved our piles of hundreds of books about 5 times already since moving in! Once the shelves are complete, I doubt I'll have much space left for decor as I think the books will about fill them!

And all those bricks? The unbroken ones will be going on to a new life as a pathway in our spring garden...that hasn't been dug yet.